SignShop How-to
Orignally written by jesskitten, revised in 2018 by DisturbedCrime
This is a quick screenshot-based primer on how to to use the SignShop plugin for buying, selling, and donating items.
Common Bugs
- If you are setting up a [Buy] or [Sell] sign, do not include more than period in the last line. The item will be flagged as being on sale for 0 coins.
- You cannot use signs while holding dye items.
- As of the last patch, the first line of the sign gets indented.
- As of the last patch, you sometimes may not be able to break a sign.
Selling Items - Buy Signs
[Buy] Signs allow a player to buy things from you — if you are the owner of a shop and want to sell things to customers, this is the sign you want to use.
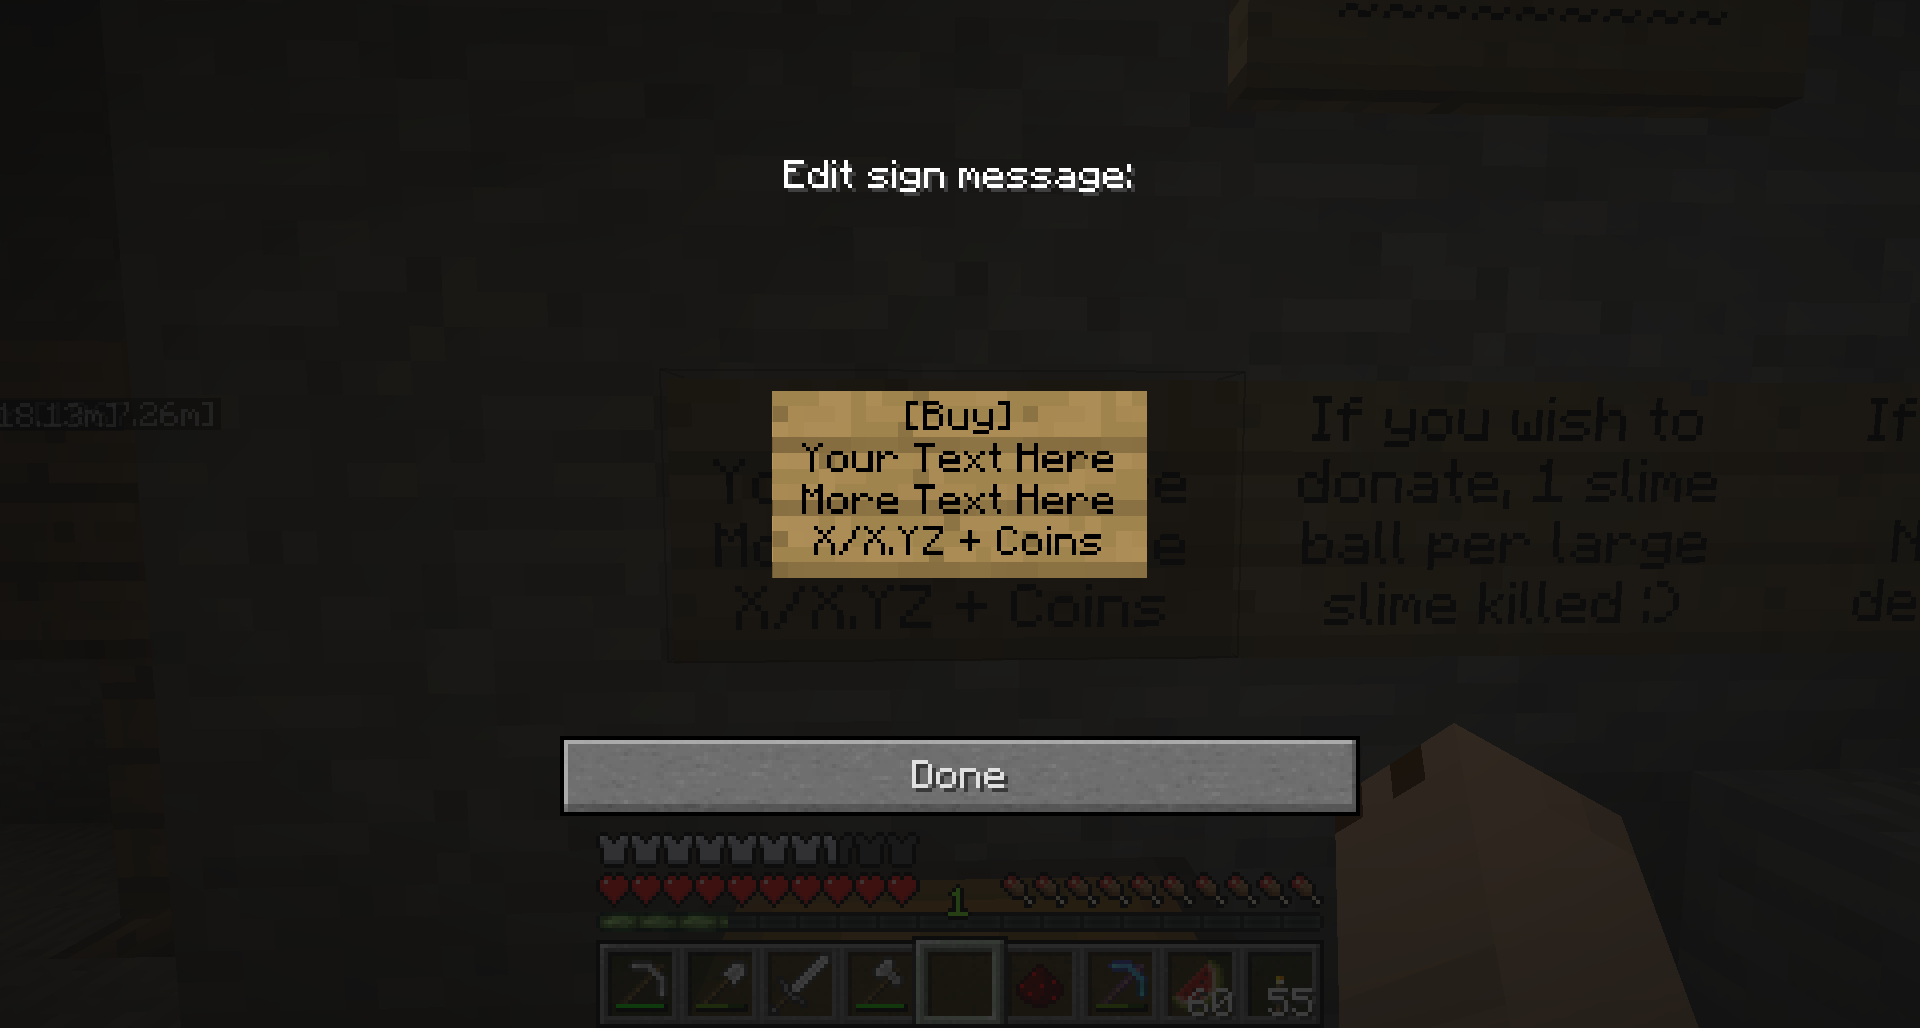
To create a [Buy] sign, place a sign with the following:
- First Line: [Buy]
- Second/Third Line: Item/Item description
- Fourth Line: Price in any format ($0, $0.00, or 0)
It doesn't matter what format you put your price in!
Connecting Your Chests
You must then select a target chest, and fill it with exactly the type and number of items you wish to sell per transaction. Do not place your full stock in the chest yet.
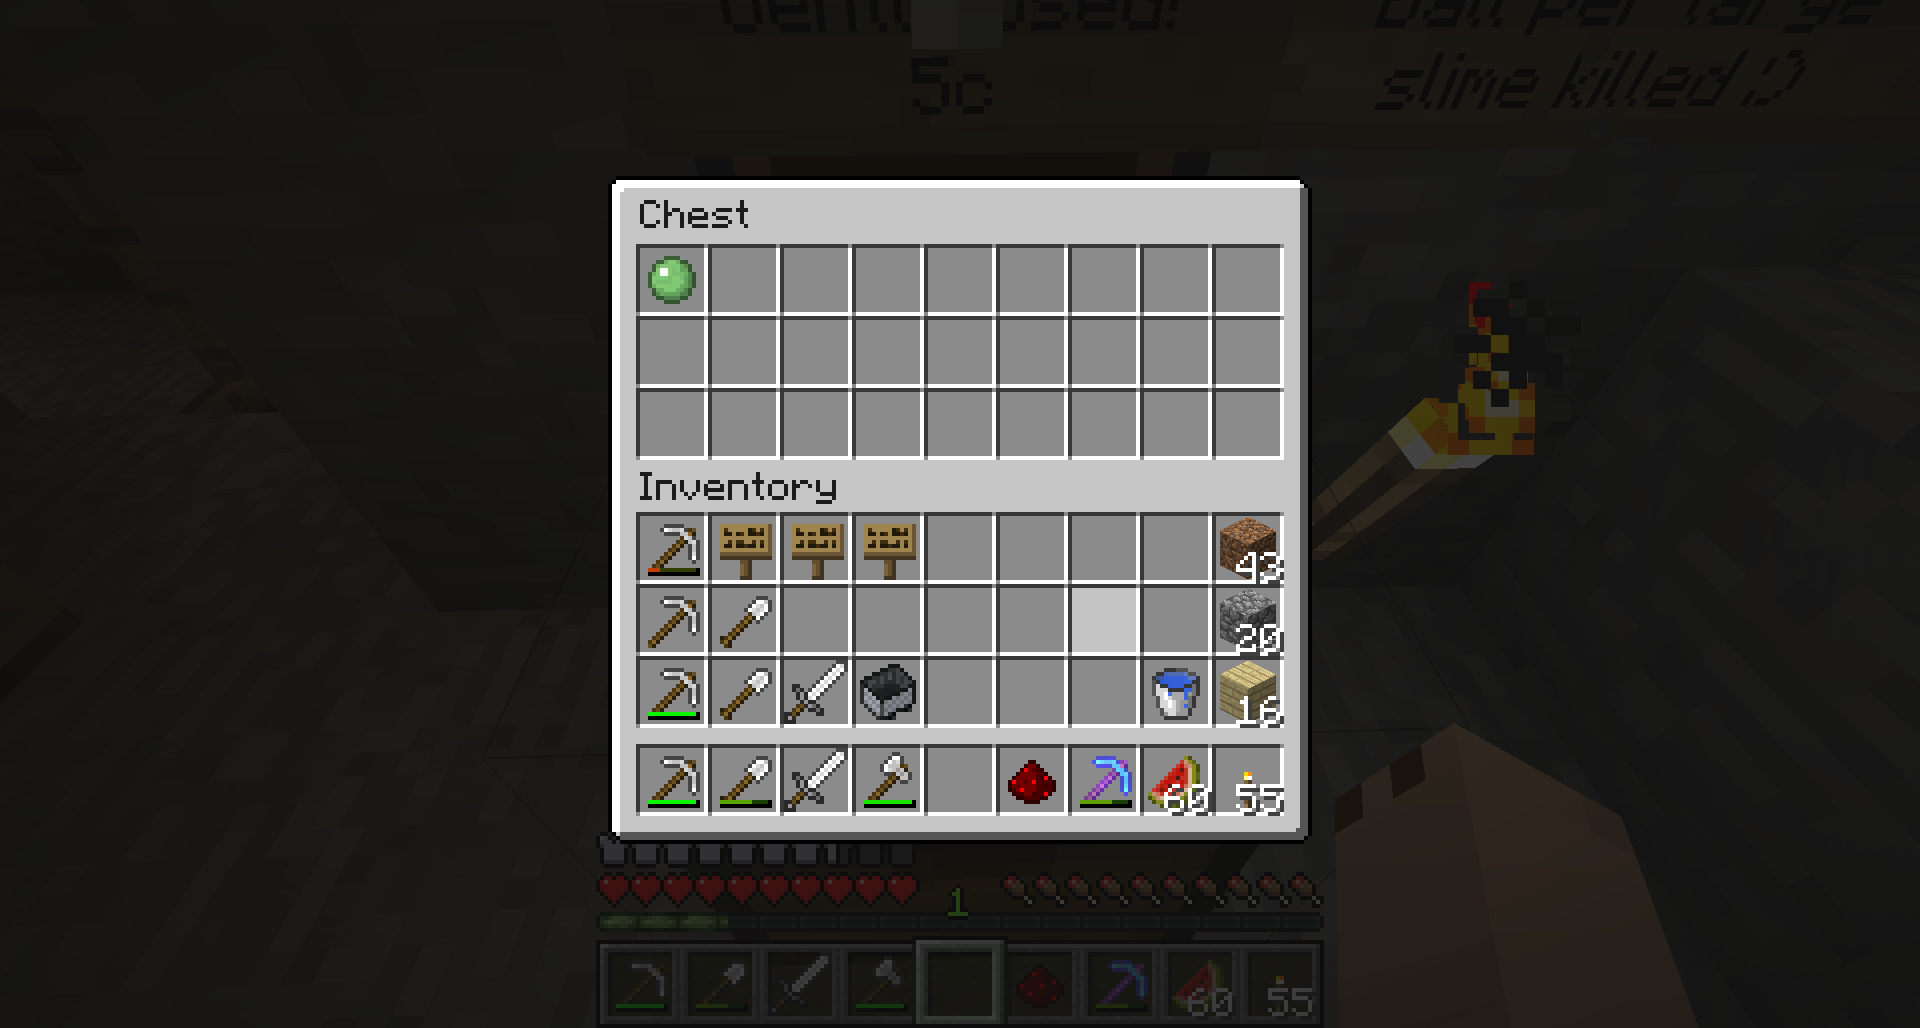
In the image above, the chest is set up to sell (1) slime ball for 5 coins. Ensure that when connecting your chests, that exactly (1) slime ball is in the chest.
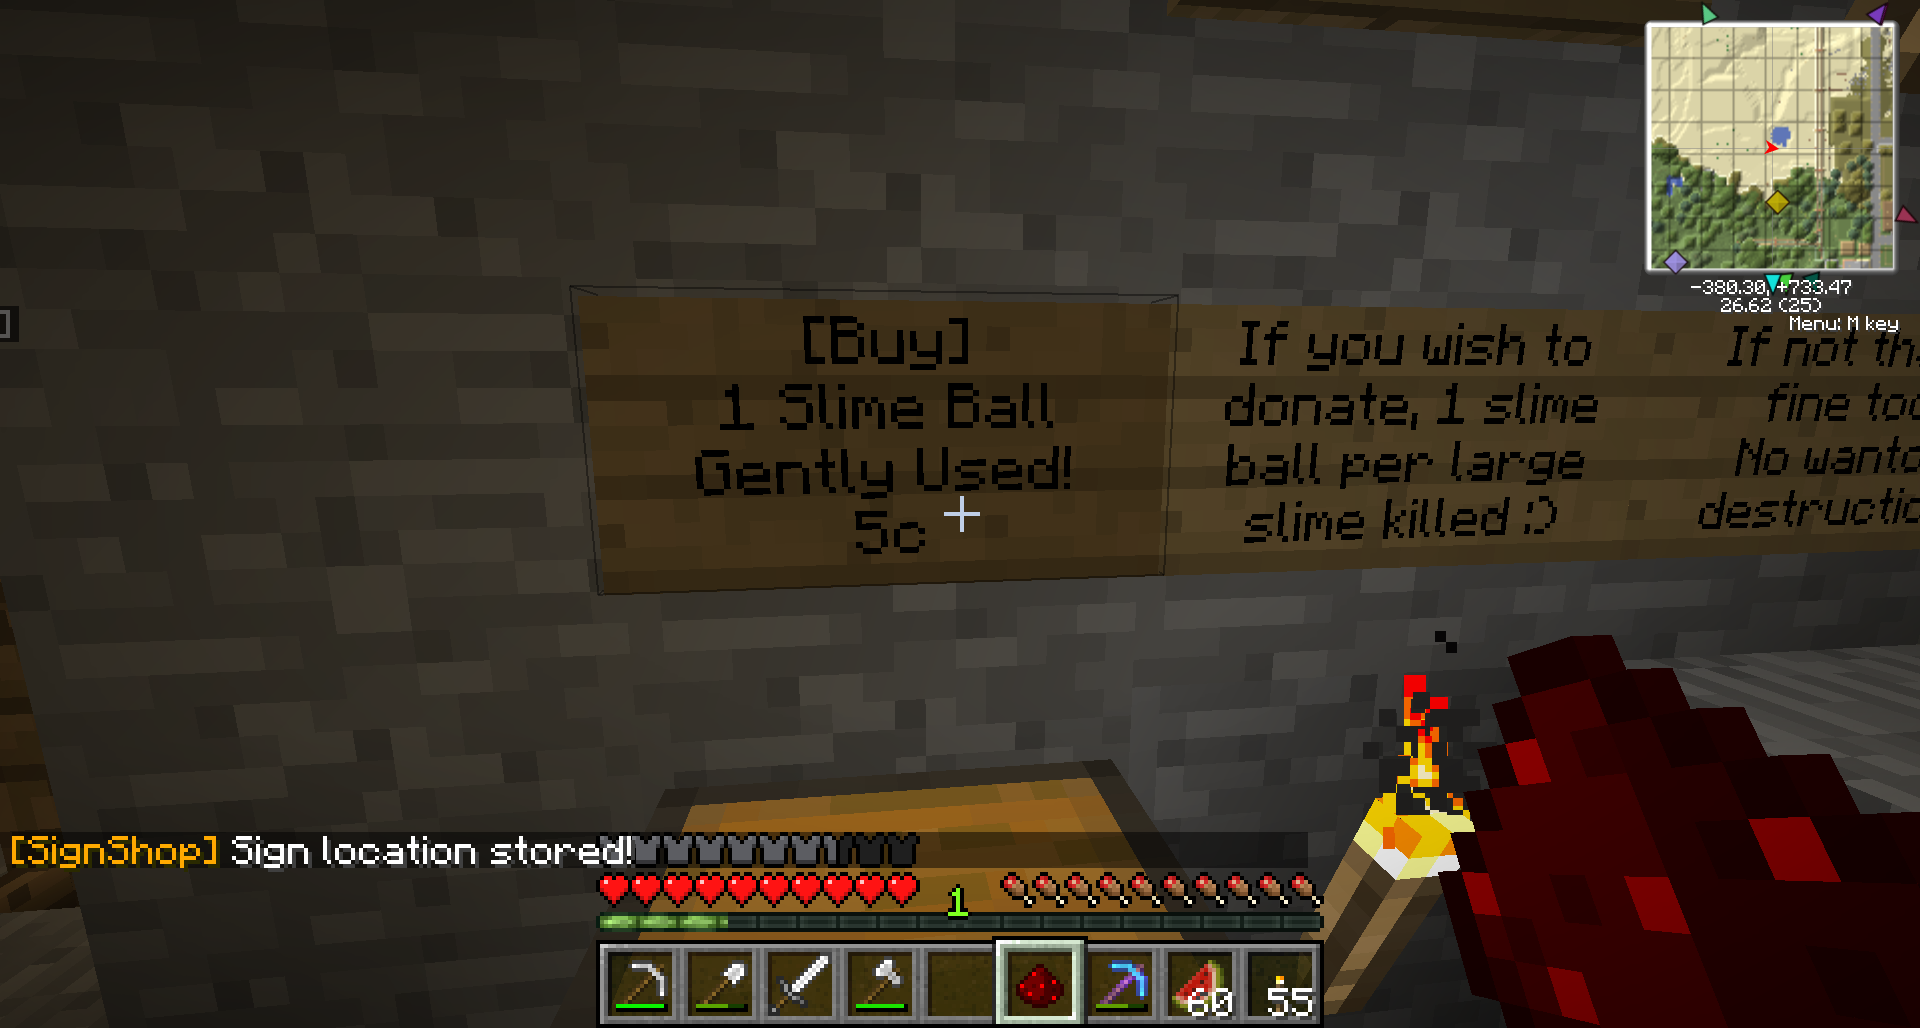
Once the item that I want to sell is placed in the chest, left OR right click the sign with Redstone dust. This marks the chest's location. Note the status messages after each step!
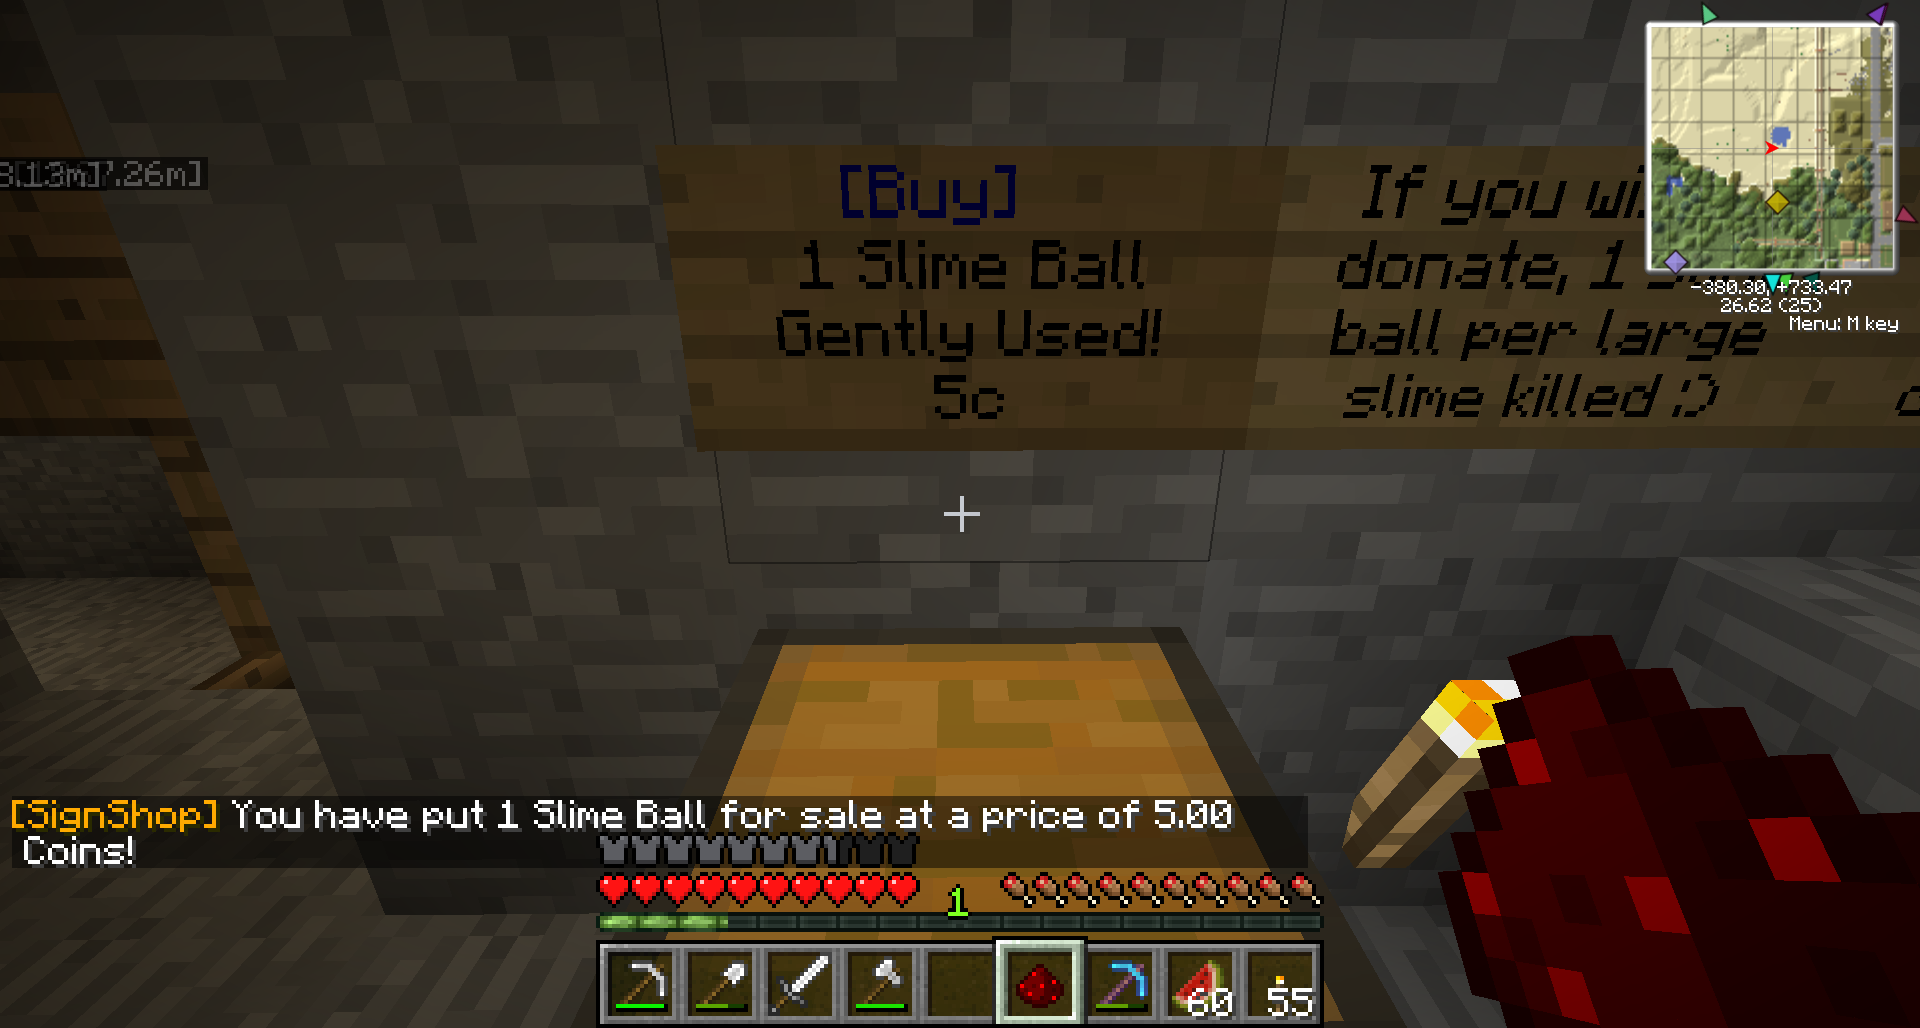
Lastly, left click on the chest containing your item again with the Redstone dust.
Again, take note of the status messages after each step. If you are selling multiple items from one sign (a kit), the last status message should summarize all of the items per transaction. Make sure there are no mistakes! And remember to lock your chests!
Buying Items - Sell Signs
[Sell] Signs allow a player to sell things to you — if you are the owner of a shop and want to buy things from customers, this is the sign you want to use.
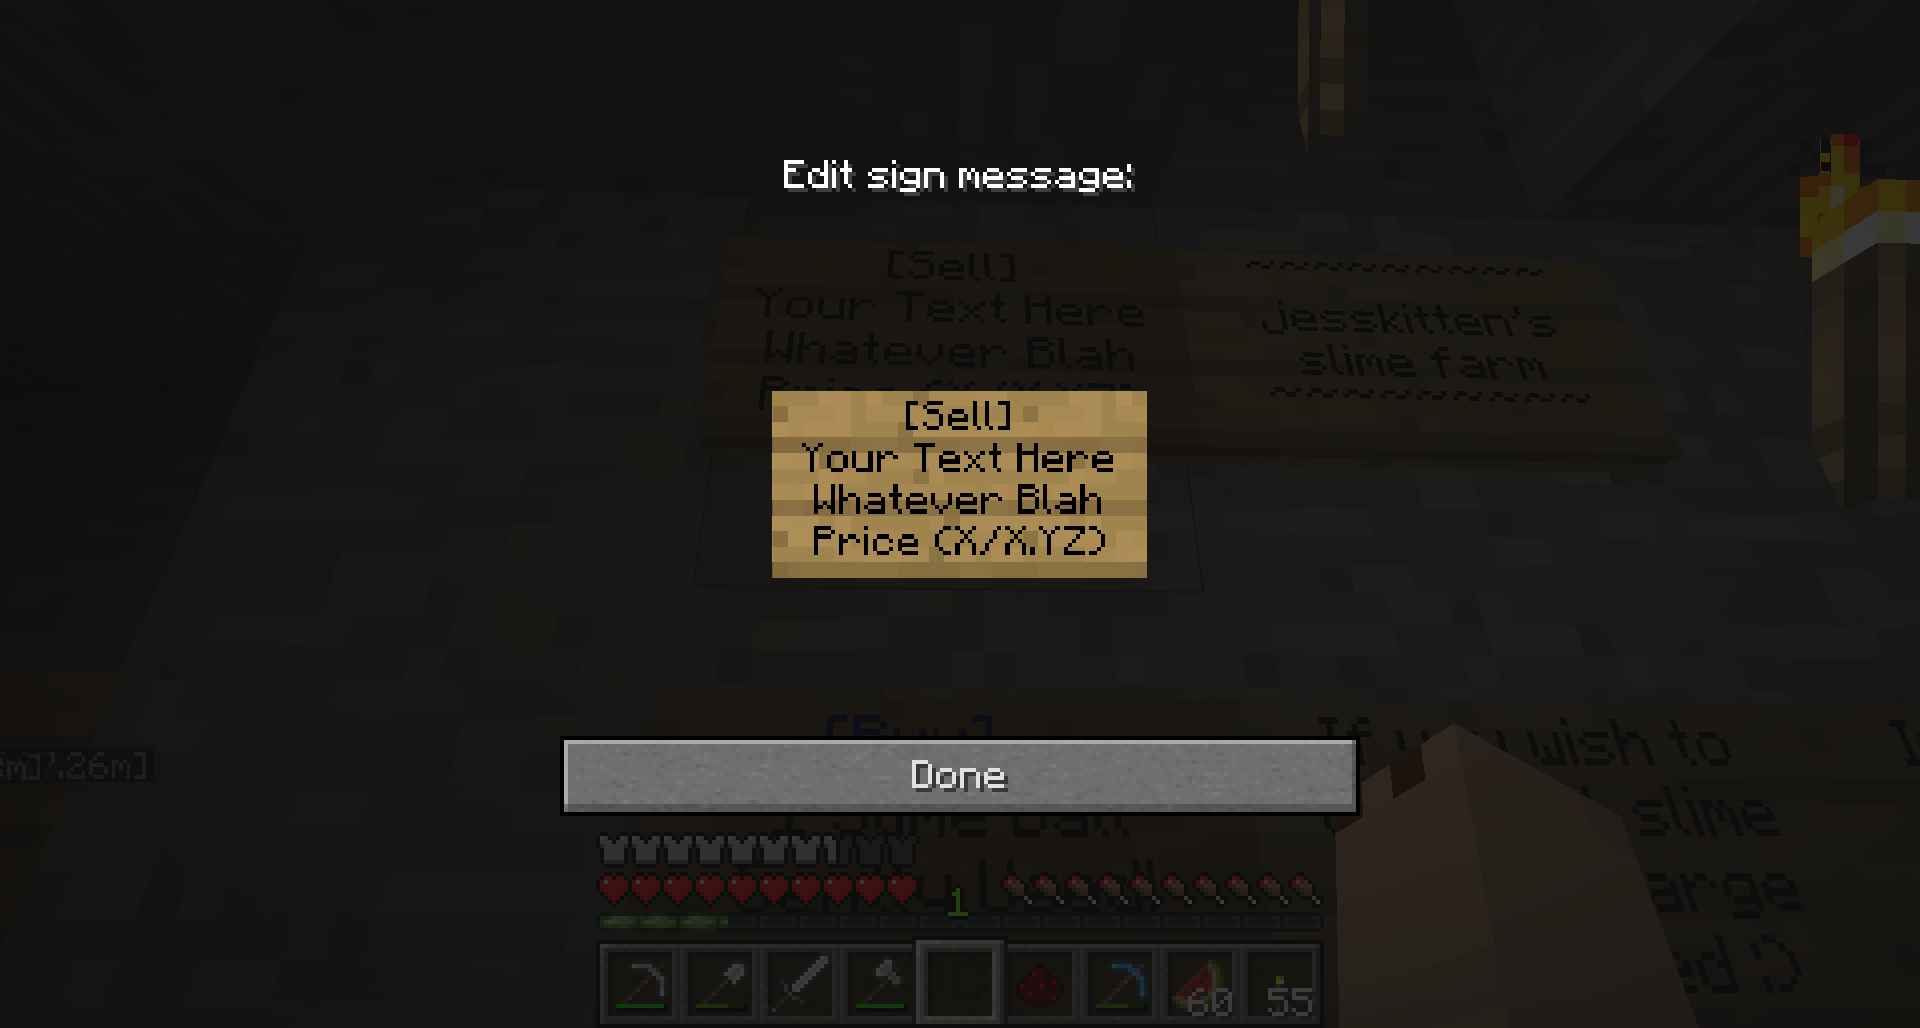
To create a [Sell] sign, place a sign with the following:
- First Line: [Sell]
- Second/Third Line: Item/Item description
- Fourth Line: Price in any format ($0, $0.00, or 0)
It doesn't matter what format you put your price in!
Connecting Your Chests
You must then select a target chest, and fill it with exactly the type and number of items you wish to buy per transaction.
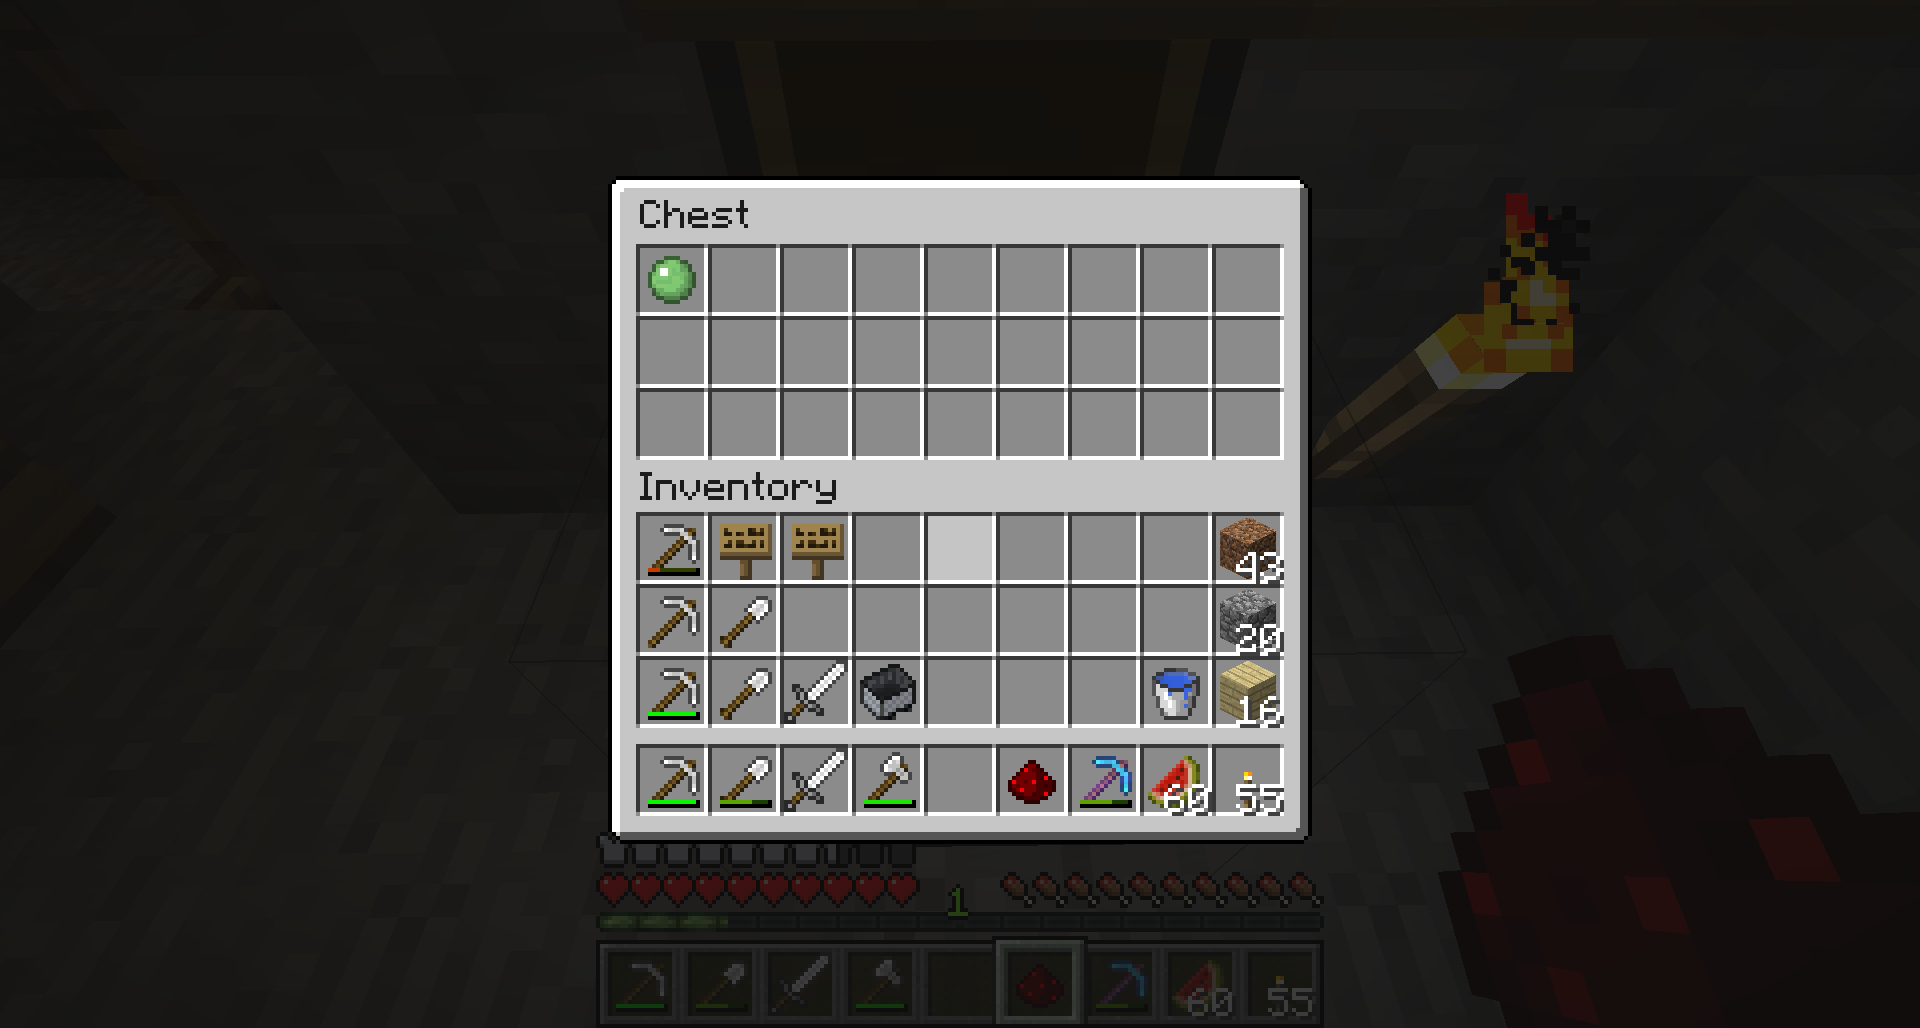
In the image above, the chest is set up to buy (1) slime ball for 5 coins. Ensure that when connecting your chests, that exactly (1) slime ball is in the chest.
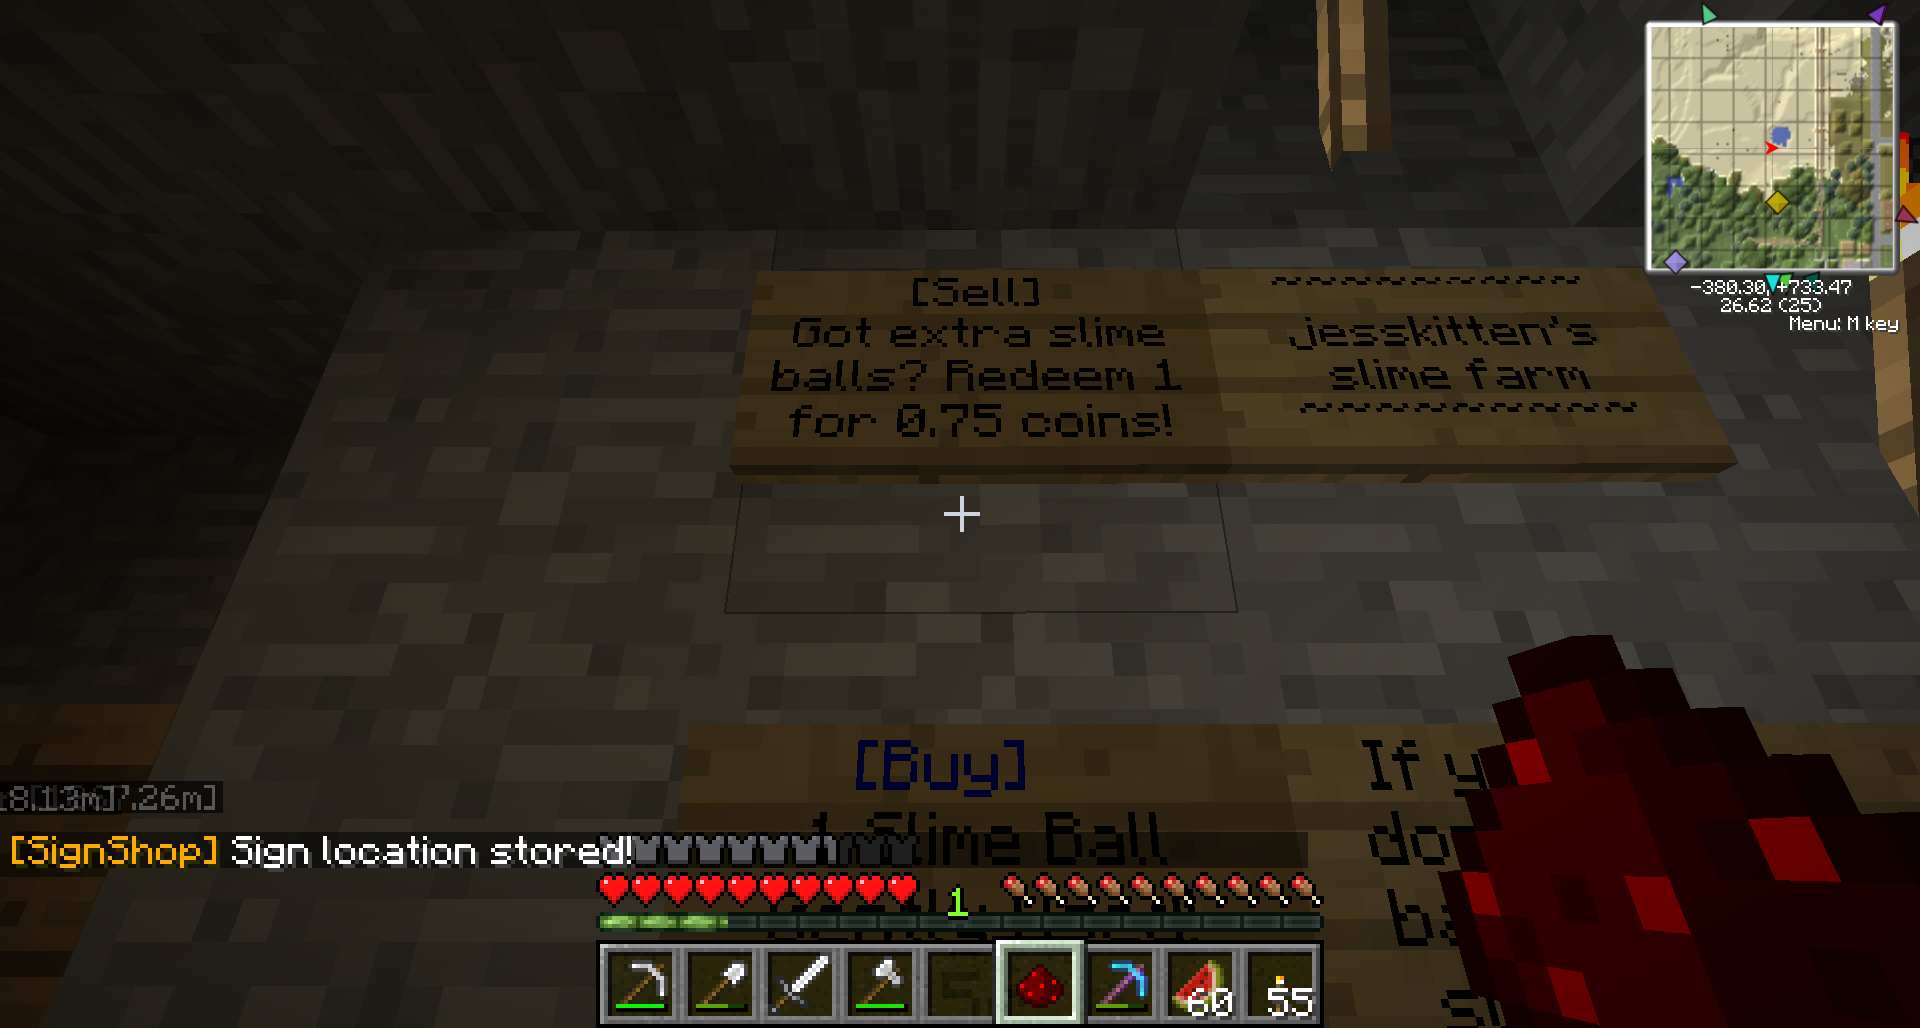
Once the item that I want to buy is placed in the chest, left OR right click the sign with Redstone dust. This marks the chest's location. Note the status messages after each step!
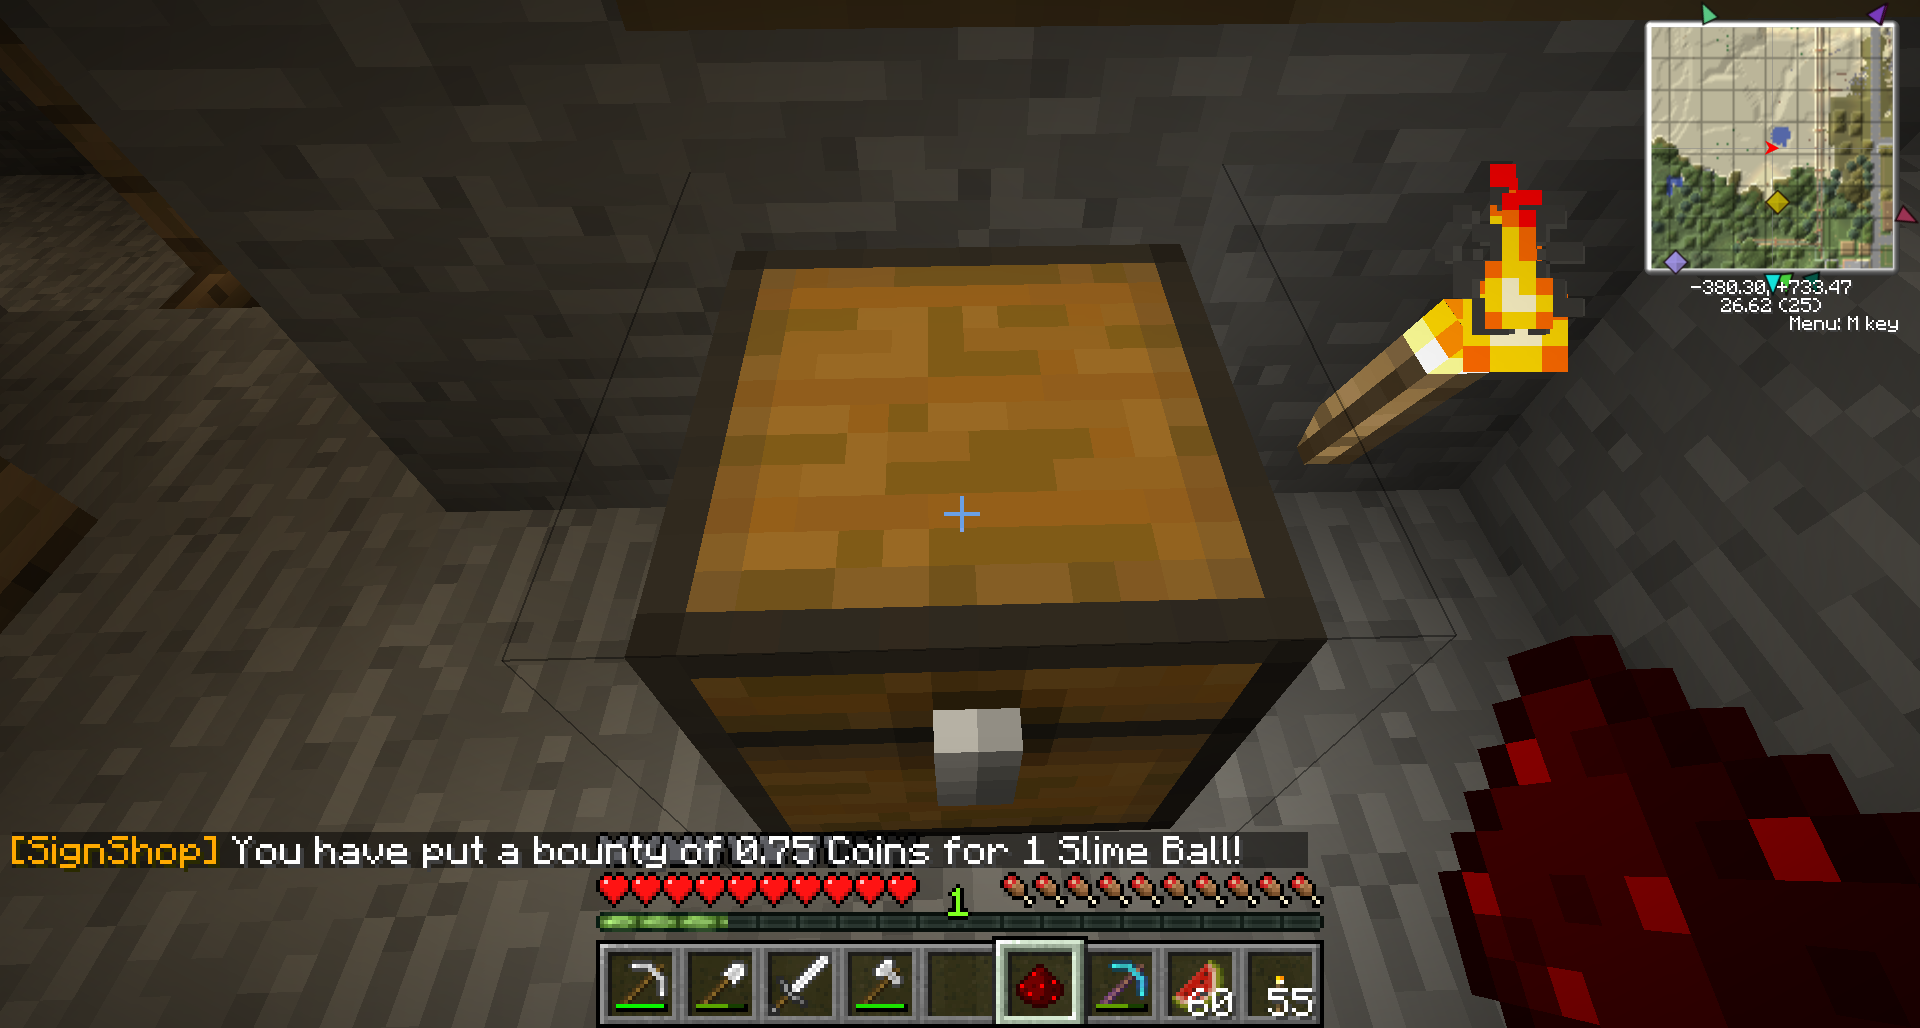
Lastly, left click on the chest containing your item again with the Redstone dust.
Again, take note of the status messages after each step. The last status message should summarize all of the items per transaction. Make sure there are no mistakes! And remember to lock your chests!
Donating - Donate Signs
[Donate] Signs allow a player to donate things to you — they are set up exactly the same way as Buy/Sell signs, but are seldom used because they are tied specifically to one item.
To create a [Donate] sign, place a sign with the following:
- First Line: [Donate]
- Second/Third/Fourth Line: Any Text
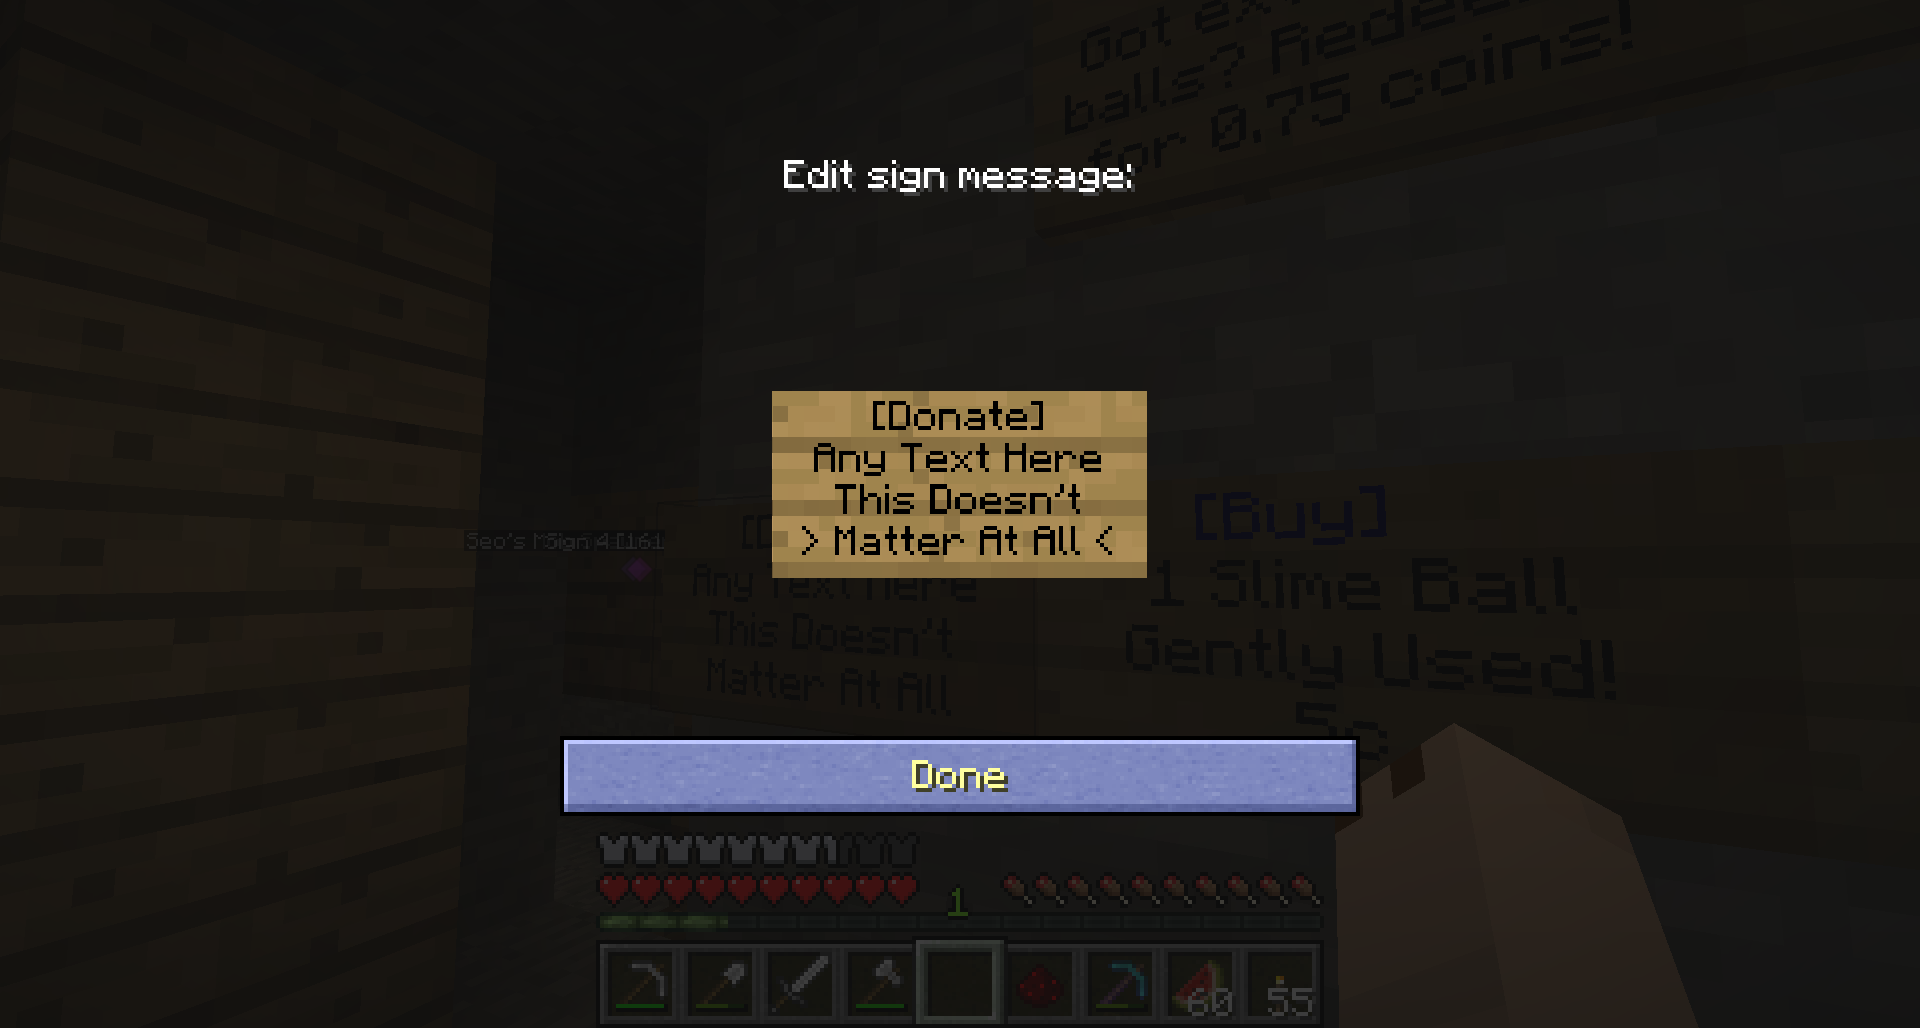
It doesn't matter what text you put on the Donate sign!
Connecting Your Chests
You must then select a target chest, and fill it with exactly the type and number of items you wish to be donated per transaction.
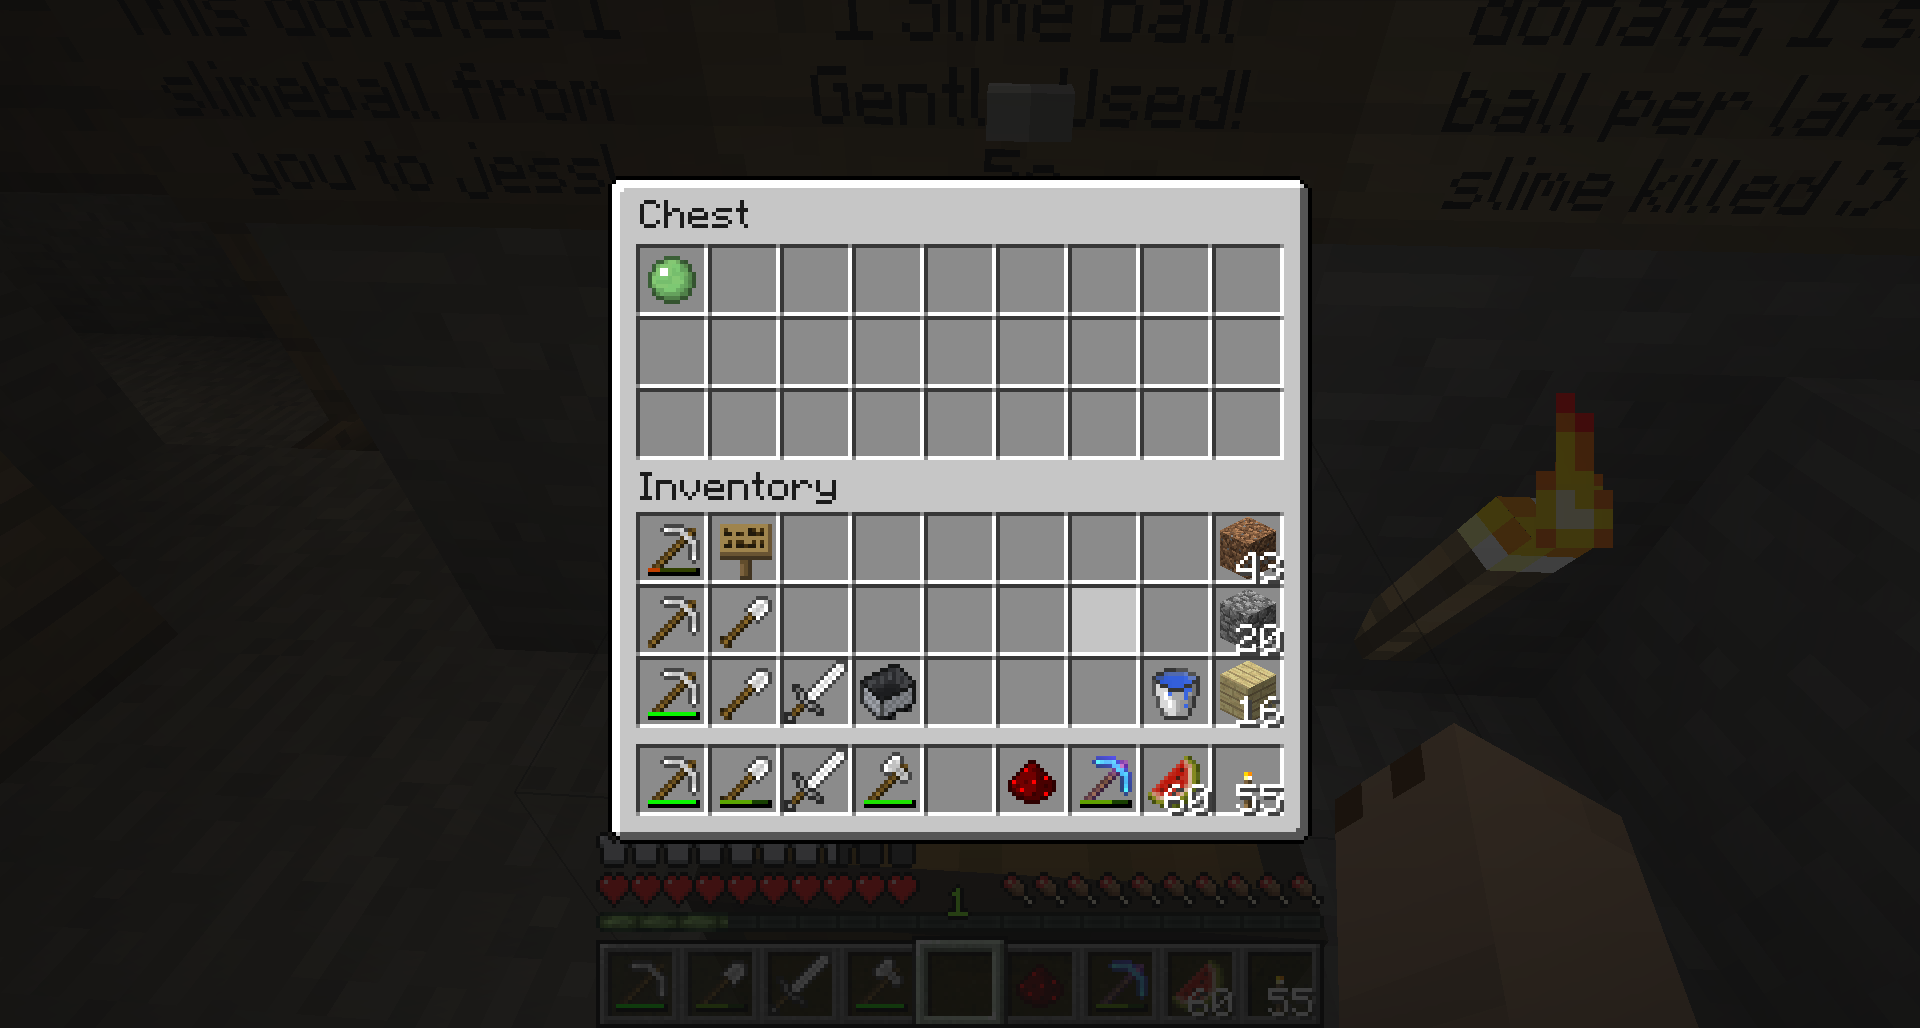
In the image above, the chest is set up to allow the user to donate (1) slime ball to the chest owner. Ensure that when connecting your chests, that exactly (1) slime ball is in the chest.

Once the item that I want to be donated is placed in the chest, left OR right click the sign with Redstone dust. This marks the chest's location. Note the status messages after each step!
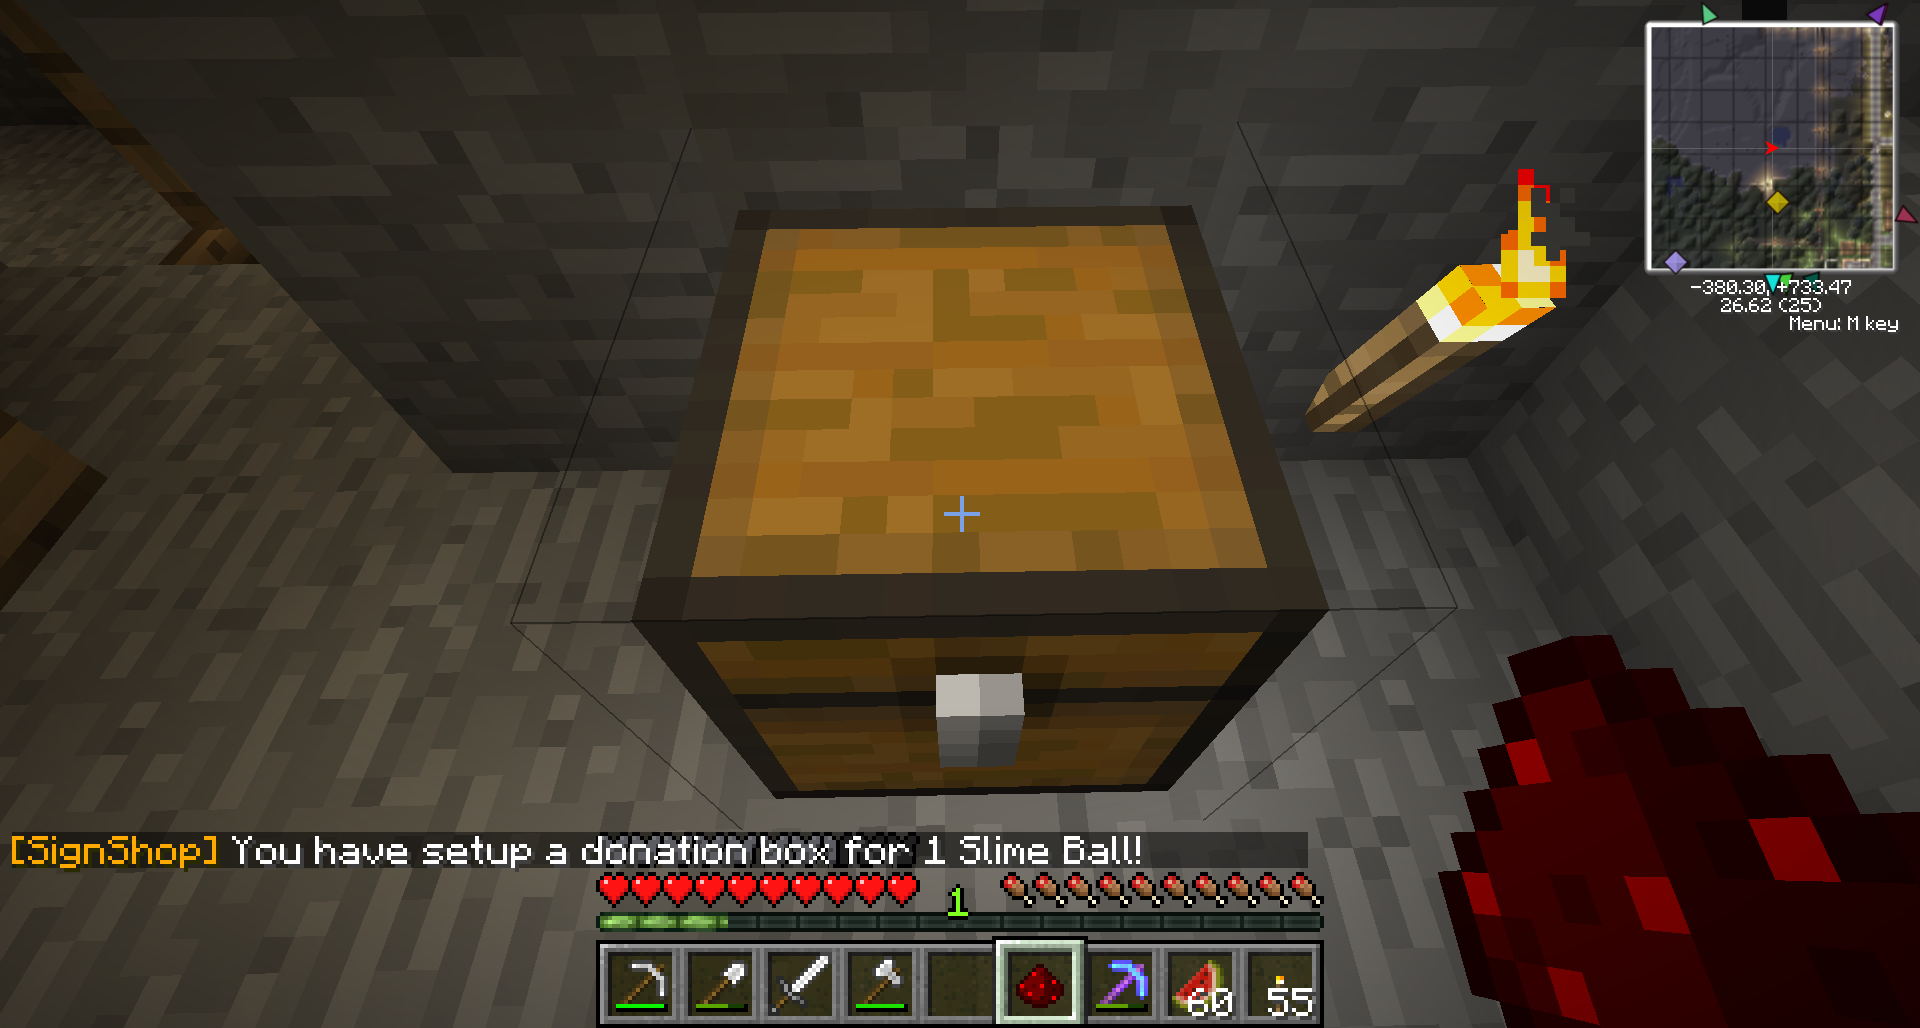
Lastly, left click on the chest containing your item again with the Redstone dust.
Again, take note of the status messages after each step. The last status message should summarize all of the items per transaction. Make sure there are no mistakes! And remember to lock your chests!
Generic Donations - DonateHand Signs
[DonateHand] Signs allow a player to donate whatever they are "holding" to you — the user must put the item they want to donate in their hotbar, select it, and then right click on your sign. They are easier to set up than other signs, and are not tied to just any one item. They are often used as generic donation chests in shops, or in a mining or farming outpost to donate resources.
To create a [DonateHand] sign, place a sign with the following:
- First Line: [DonateHand]
- Second/Third/Fourth Line: Any Text
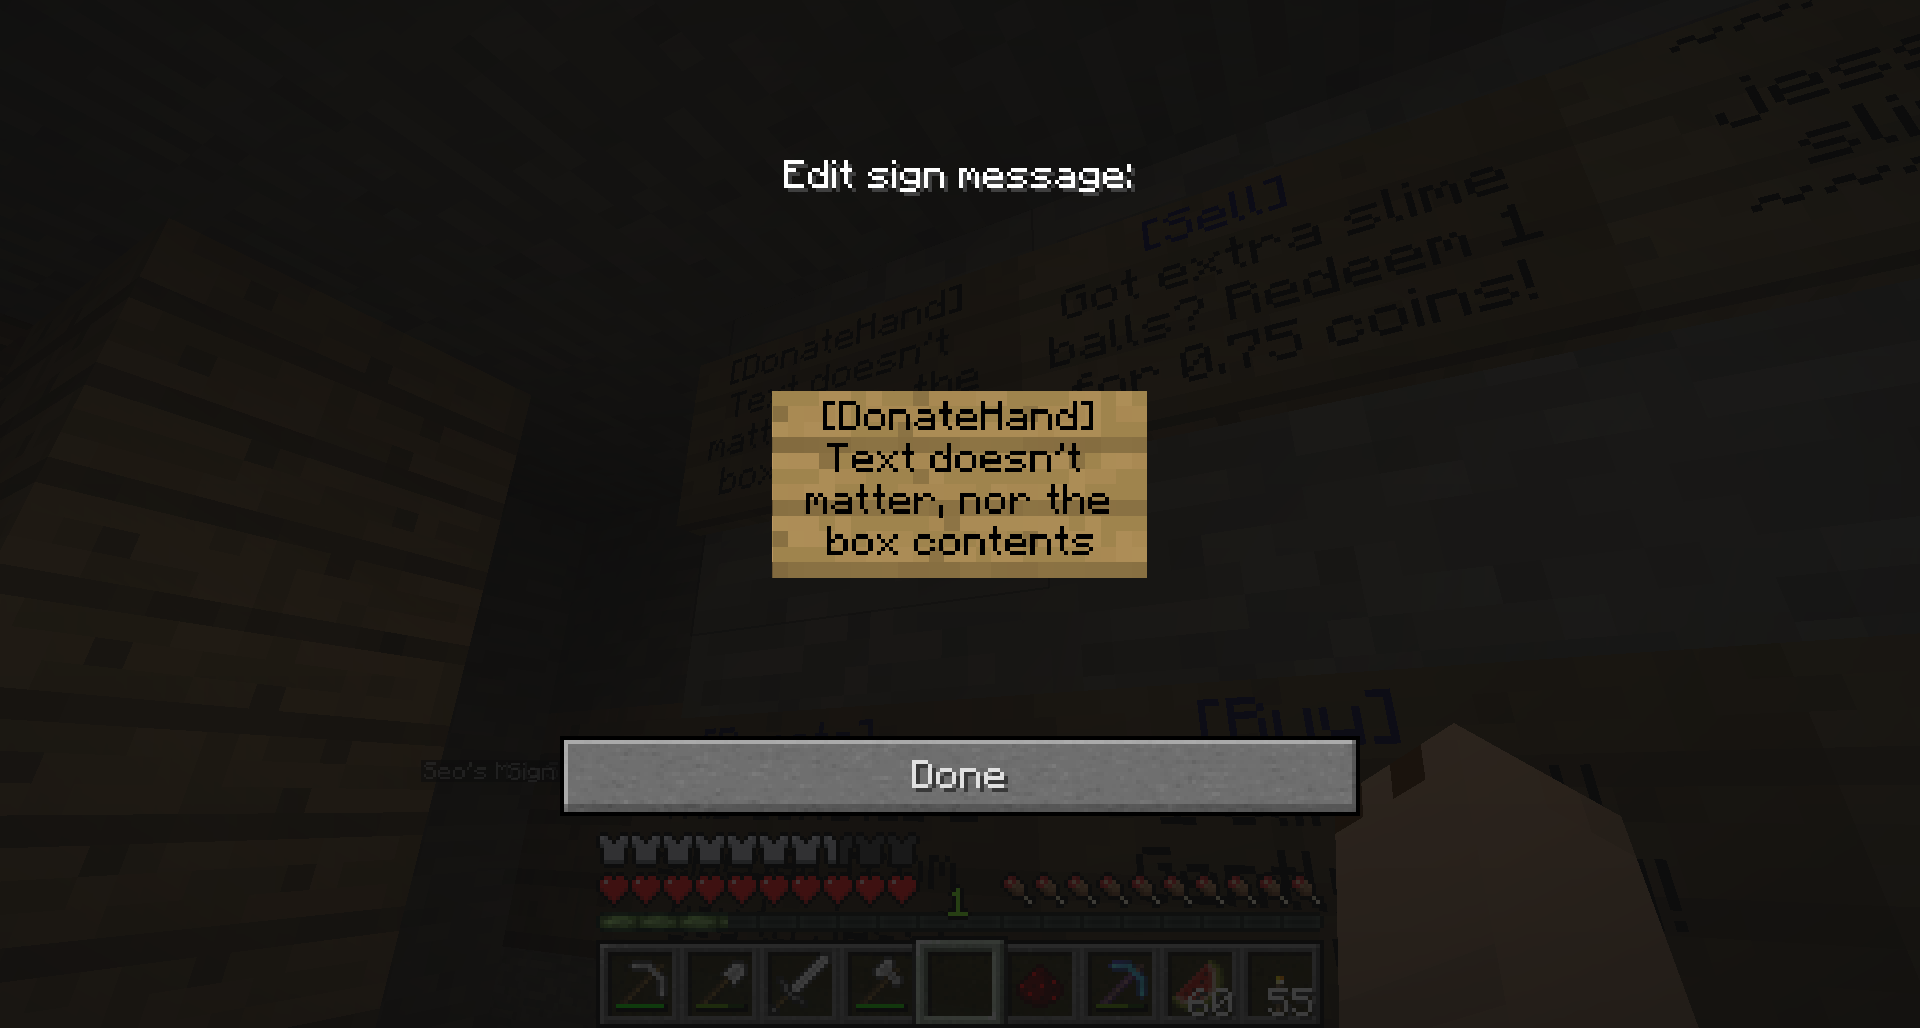
It doesn't matter what text you put on the DonateHand sign!
Connecting Your Chests
You will "hit" the sign with Redstone dust, select your target chest, and "hit" that too. Make sure the chest is unlocked and that you can use it, or you will not be able to set it as a DonateHand chest.
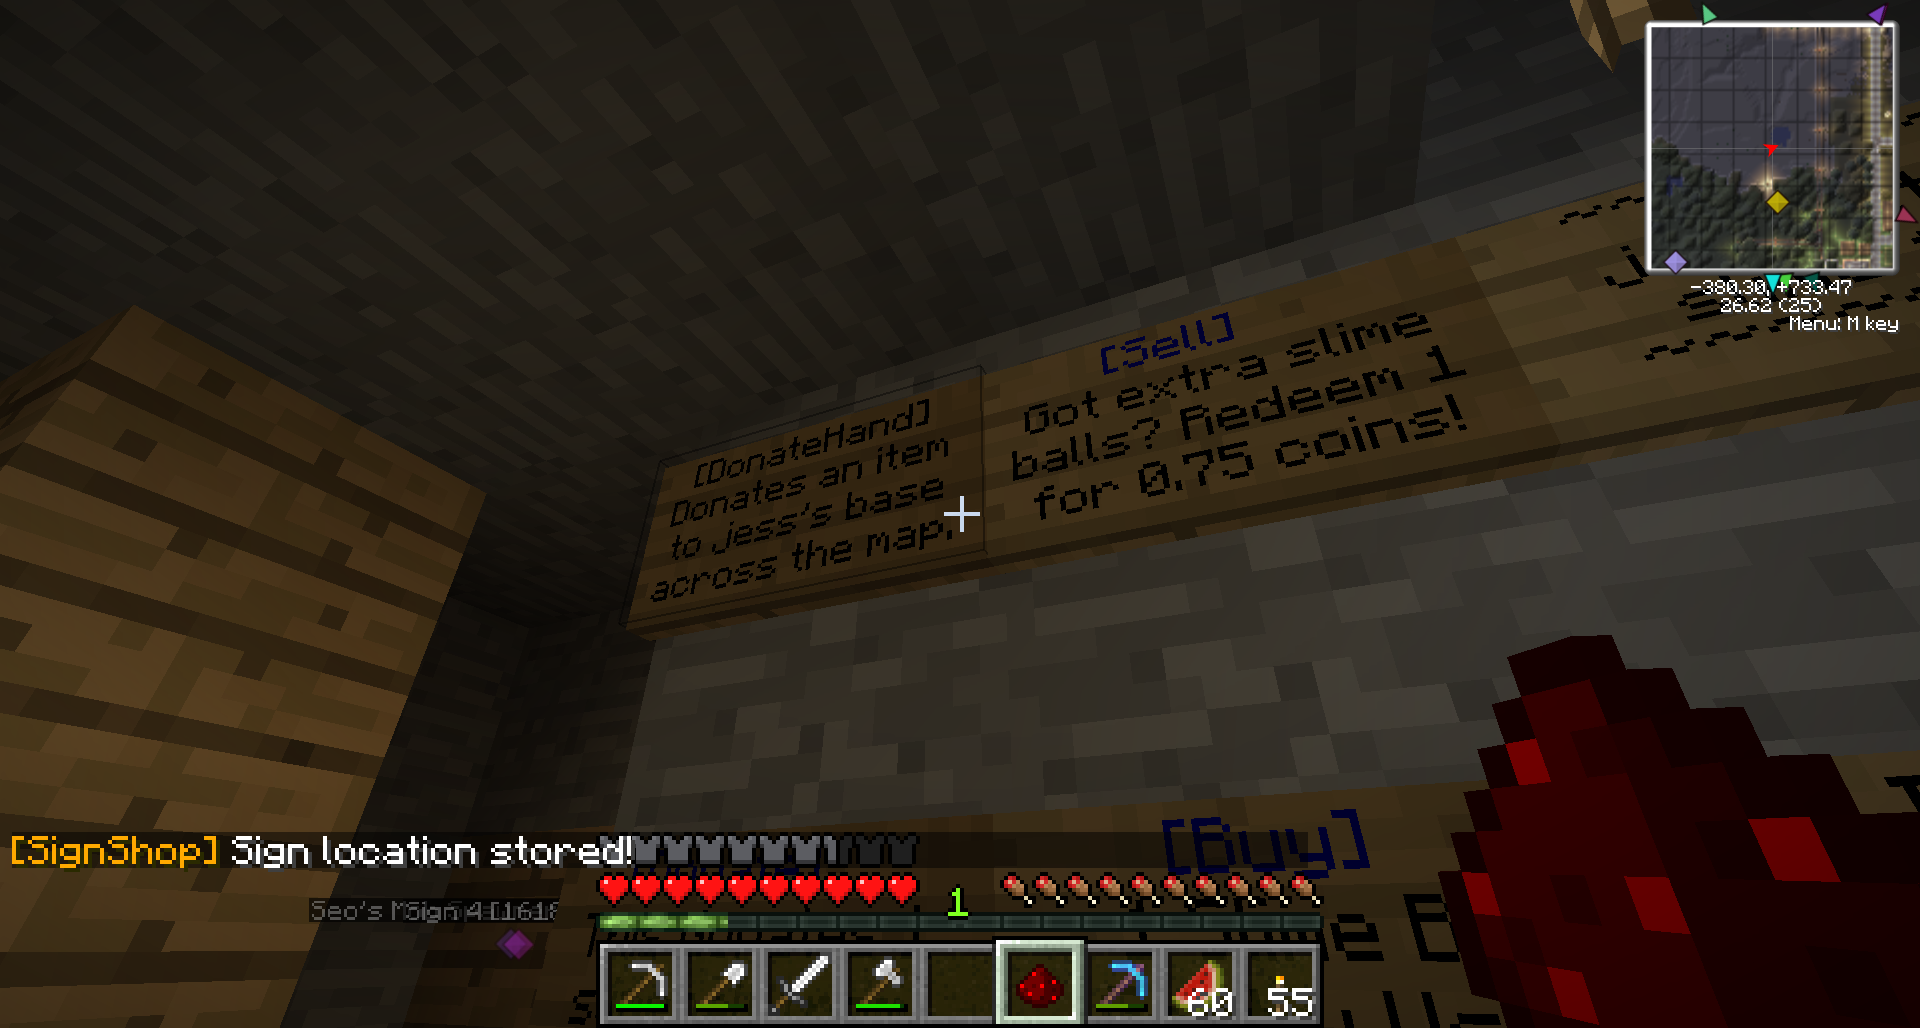
In the image above, the chest is set up to allow the user to donate any items to the selected chest. First we set up the sign, then left or right click it with Redstone dust.
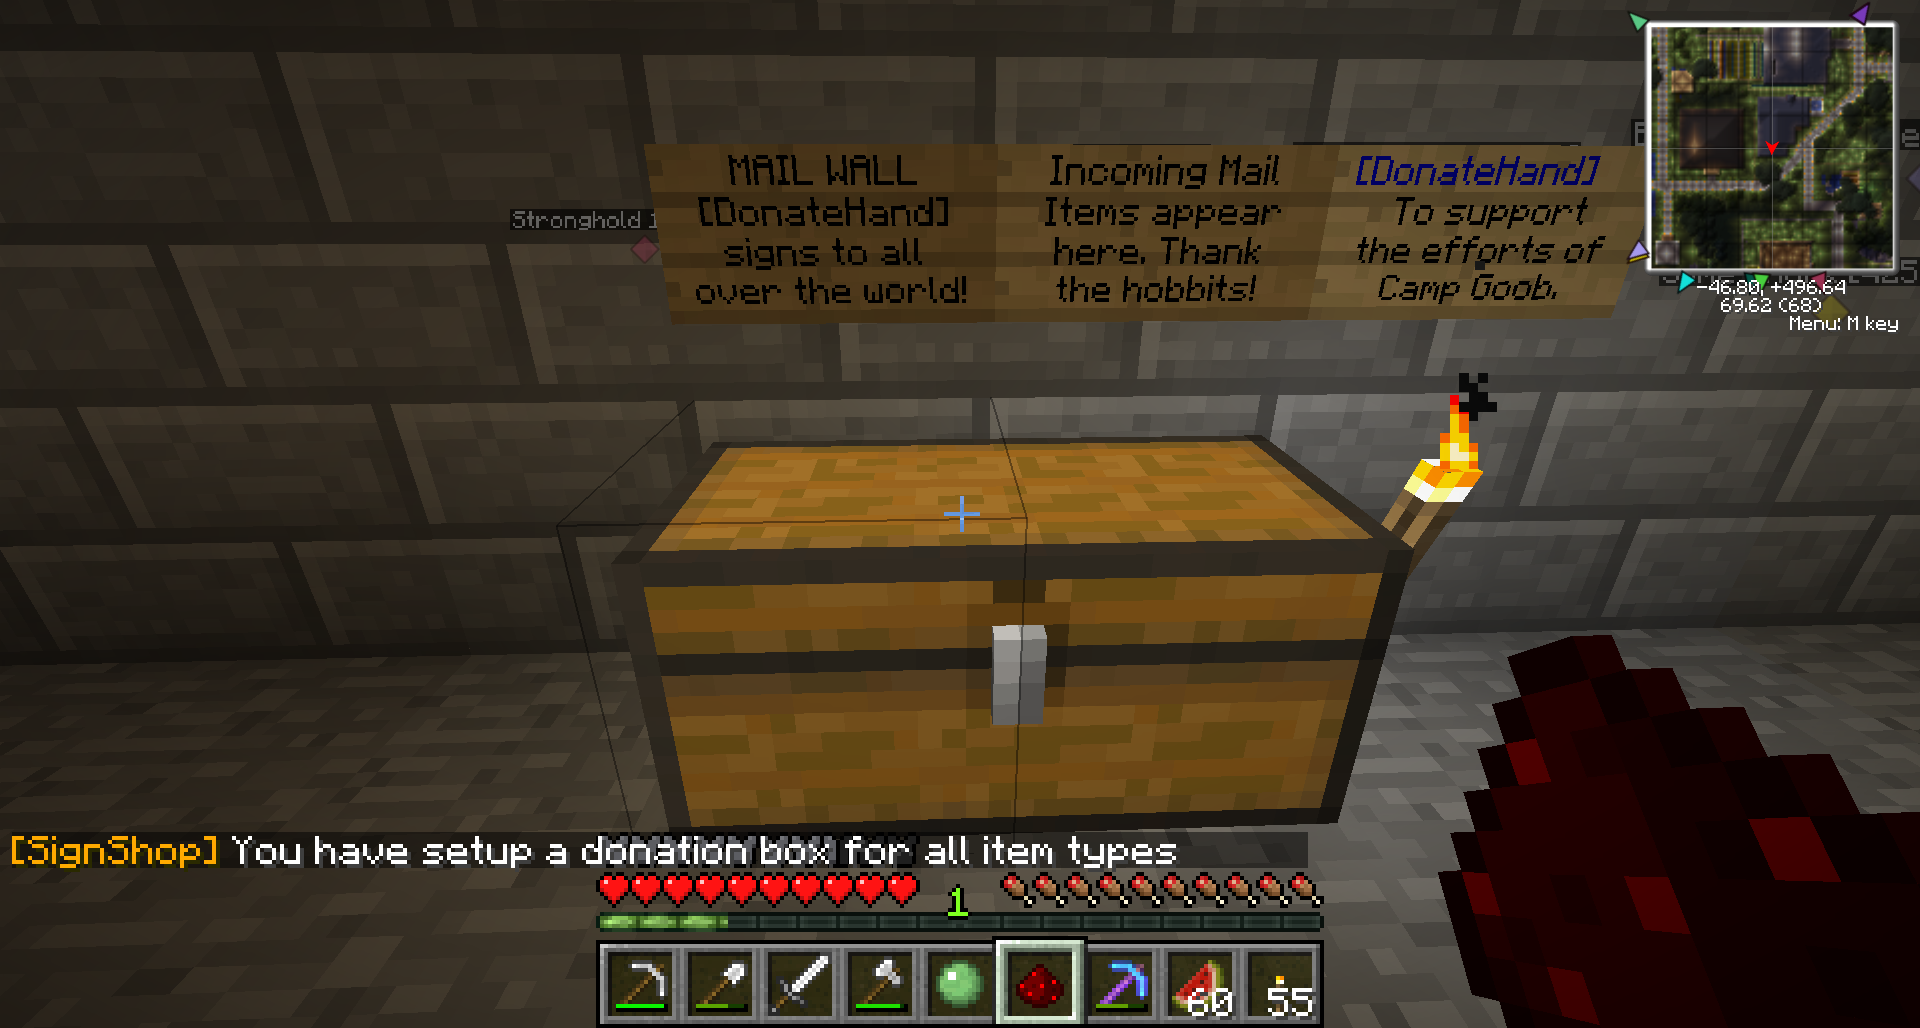
Once the sign is set up and selected, we will left click our target chest while holding Redstone dust.